Short fall nails are a seasonal favorite, and they’re especially flattering and practical for women 40+. Think cozy shades, luxe textures, and wearable art that lasts.
Below are elegant, low-maintenance designs and care tips that strengthen, flatter, and photograph beautifully because short, polished, and age-elegant never goes out of style.
1. Short almond vs. squoval for stronger nails
A softly tapered short almond elongates fingers, while a squoval keeps corners stronger for daily wear. File from sidewalls toward center with 180–240 grit, lifting between strokes to avoid peeling.
💡 Pro Tip: finish with a glass file to seal layers and reduce splits.
Pick your shape based on nail health and lifestyle. Squoval works for thin or bendy nails, almond flatters sturdier plates. Keep free edges at 1–2 mm to minimize breaks.
💡 Pro Tip: round off sharp corners, snags are chip starters especially with knitwear.
2. Velvet matte top coat for a plush finish
A velvet matte top coat softens bold shades into a cashmere-like effect. It hides scratches better than gloss and pairs beautifully with sweaters.
💡 Pro Tip: float the brush lightly, pressing too hard creates streaks and shiny patches.
For longest wear, layer matte over a fully cured gloss, then add a thin matte coat just at the tips.
💡 Pro Tip: oil cuticles only after polish sets, mattes reject oils if applied too soon.
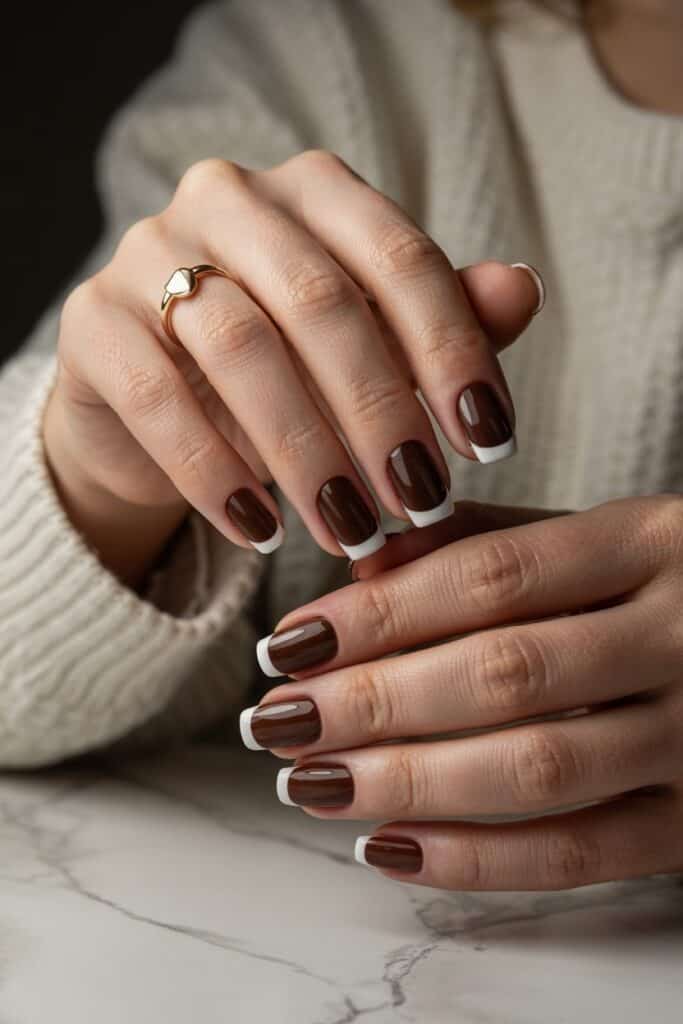
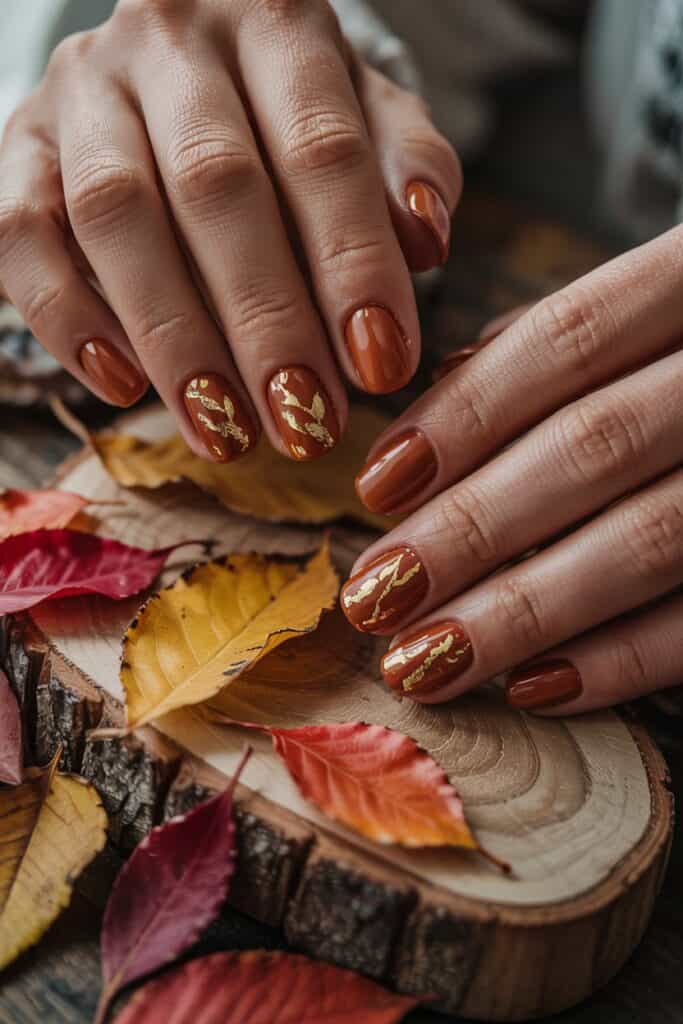
3. Espresso brown with micro-French tips
Espresso brown looks chic on all skin tones, especially short nails. Add a thin French tip in beige or champagne to define edges without shortening the look.
💡 Pro Tip: use a detail brush, the thinner the line, the more refined it looks.
Sketch with sheer nude first, then trace in final color for symmetry. Seal with a top coat, wrapping the edge to protect the line.
💡 Pro Tip: taupe tips flatter cool undertones, caramel tips suit warm skin.
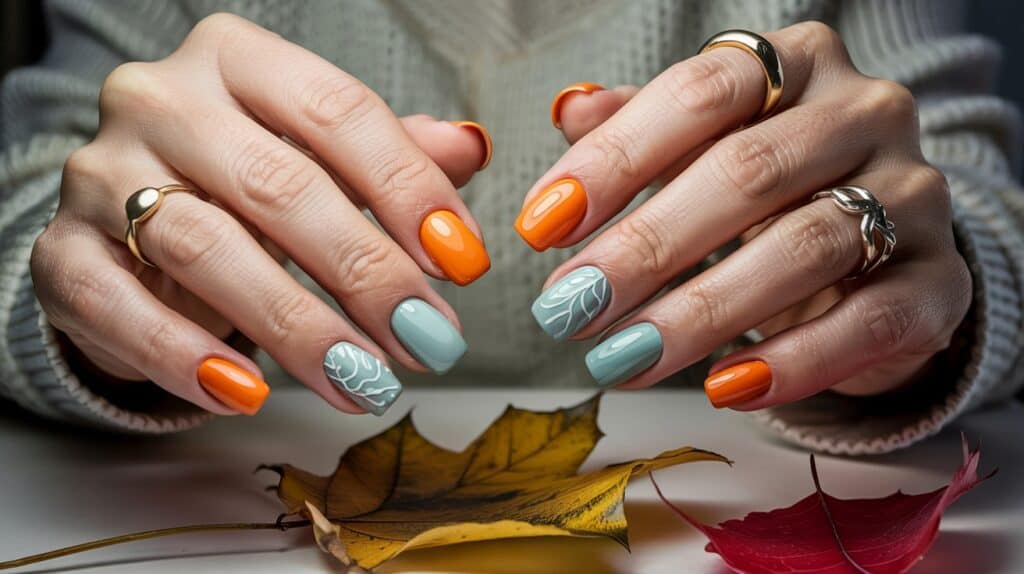
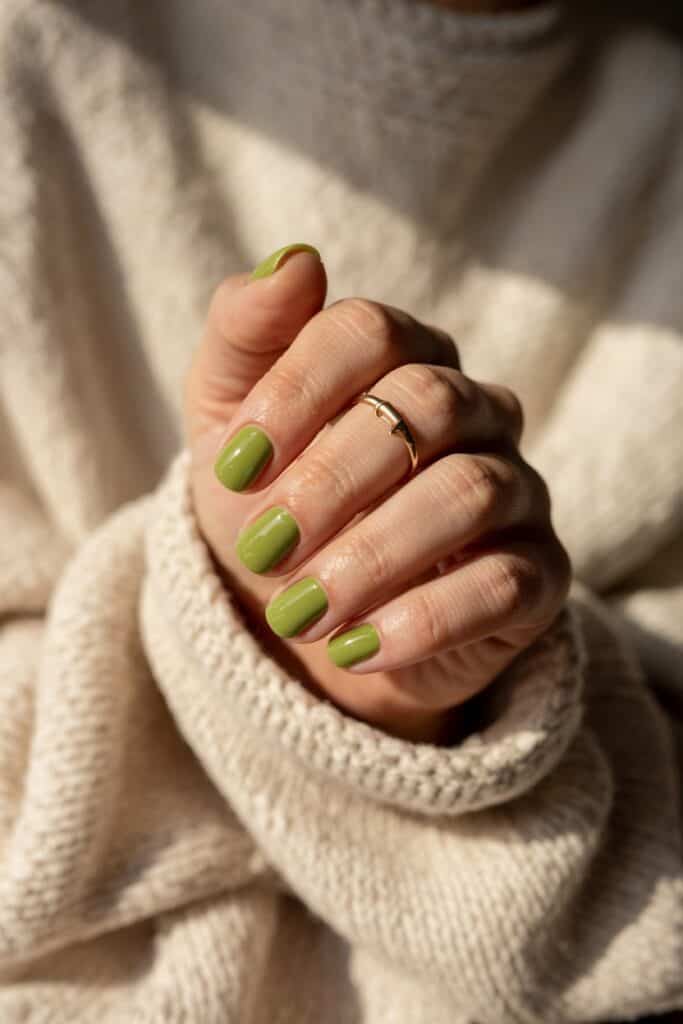
4. Pickle-green accent nail (2025 palette)
A muted pickle green accent nail nods to the 2025 palette without overwhelming. Keep other nails neutral, like latte, taupe, or milky beige, and pop a single finger in green.
💡 Pro Tip: choose olive-leaning shades for a luxe, grown-up look.
Pair with warm knits or camel tones for harmony. For cooler palettes, mix with mauves or slate.
💡 Pro Tip: add matte only to the green nail for contrast and dimension.
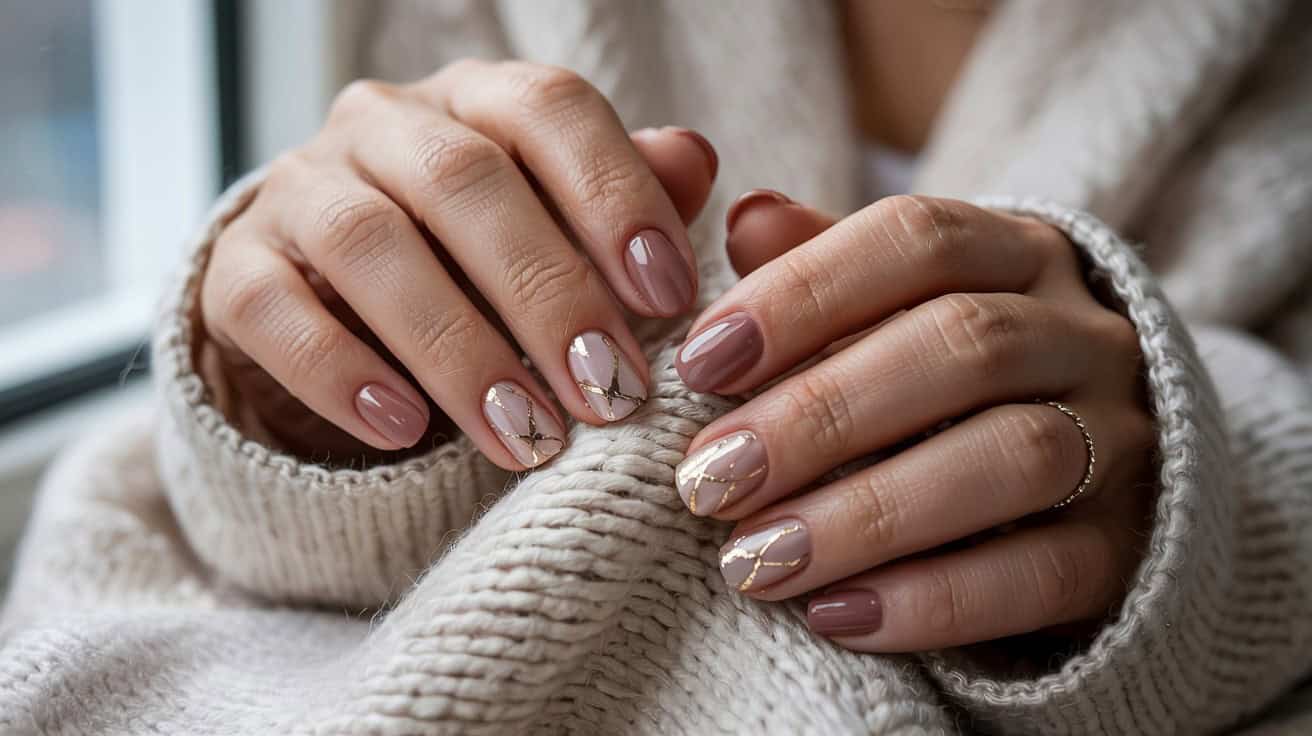
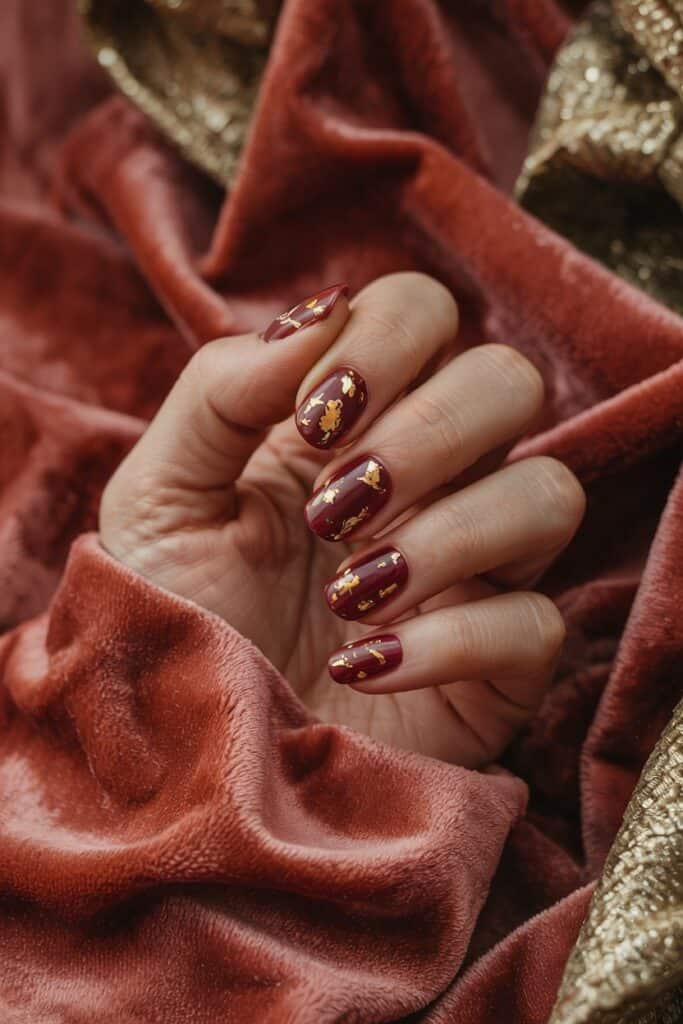
5. Gold foil flecks for subtle glam
Gold foil adds effortless sparkle without bulk. Press tiny flecks into tacky polish or gel’s sticky layer, focusing near cuticle or tips for a gradient.
💡 Pro Tip: less is more, let foil feel like jewelry not glitter.
Lock with a thin base before top coat to prevent lifting. Pair with sheer beige so gold looks sunlit, not brassy.
💡 Pro Tip: add copper flecks for warmth in autumn light.
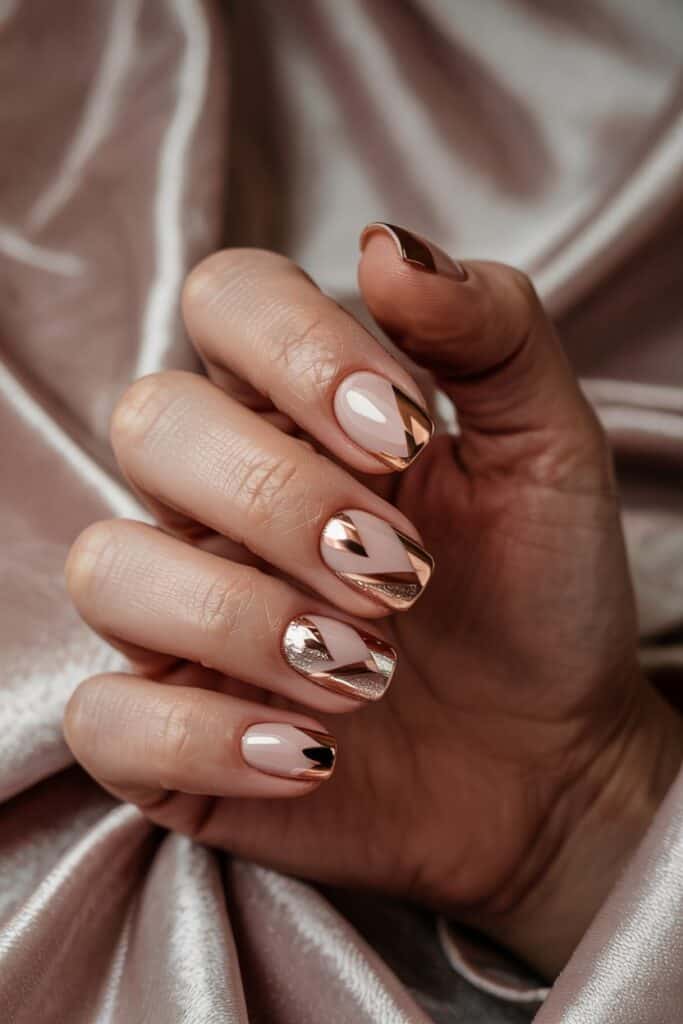
6. Copper chrome on two fingers only
Copper chrome pops most when limited to two accent fingers per hand. Pair with warm nudes for balance.
💡 Pro Tip: accenting only middle and ring fingers gives a modern intentional look.
Apply chrome to cured no-wipe top for a smooth mirror finish, then cap with flexible top coat to prevent chips.
💡 Pro Tip: layer pink-beige under copper if your skin runs cool.
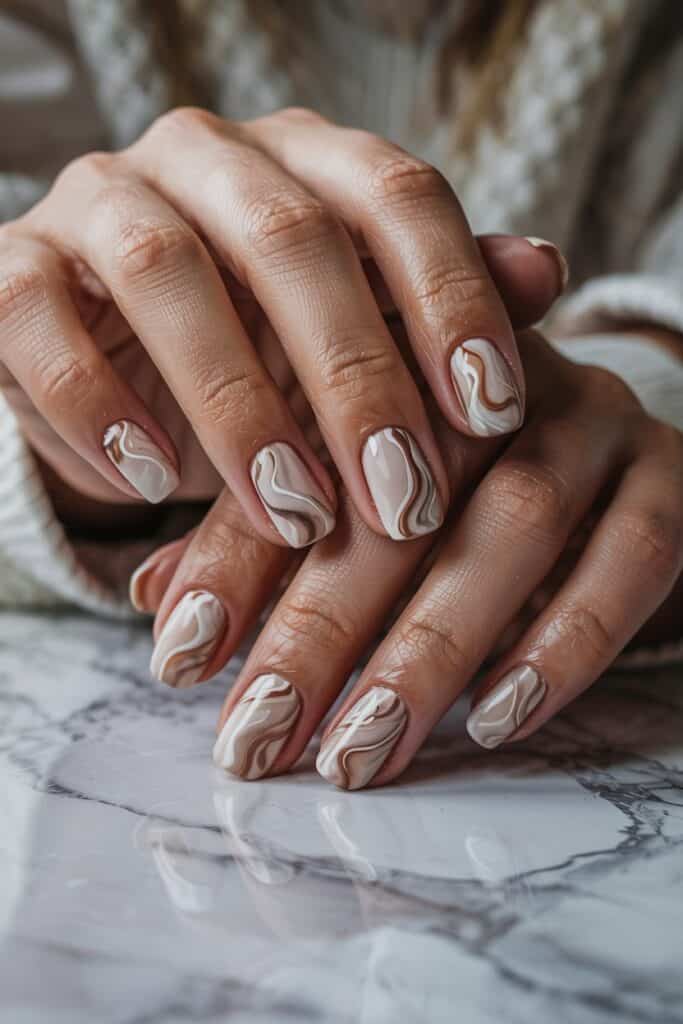
7. Latte swirl marble made easy
Mix latte marble with nudes and white for cozy swirl art. Drop dots on a mat, swirl once with a toothpick, then press onto the nail.
💡 Pro Tip: swirl only once, overmixing muddies the pattern.
Or paint a nude base, add curved lines with a brush, and soften with a sponge. Place diagonally to elongate short nails.
💡 Pro Tip: finish with satin matte top coat for a stone-like effect.
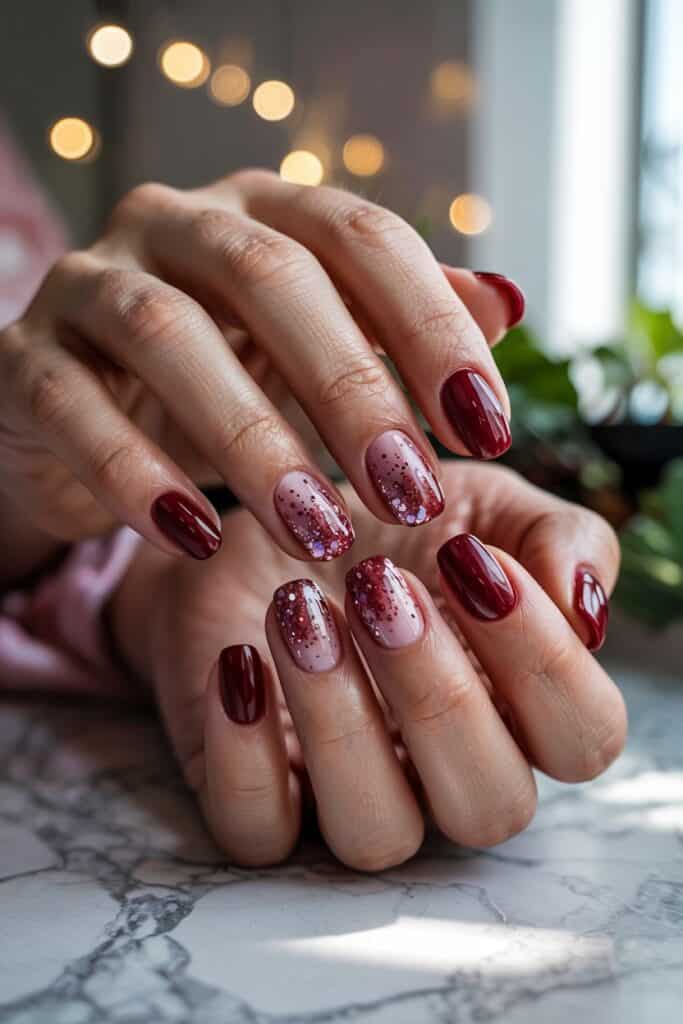
8. Cherry cola micro-glitter gradient
Cherry cola, a deep red-brown, looks stunning with a fade of micro-glitter from cuticle to mid-nail. Use a sponge for a soft glow.
💡 Pro Tip: always use micro glitter, chunky looks less refined.
Layer a sheer tint over glitter for depth and seamless blending. Seal with two thin top coats for shine.
💡 Pro Tip: hydrate cuticles, dark shades highlight dryness instantly.
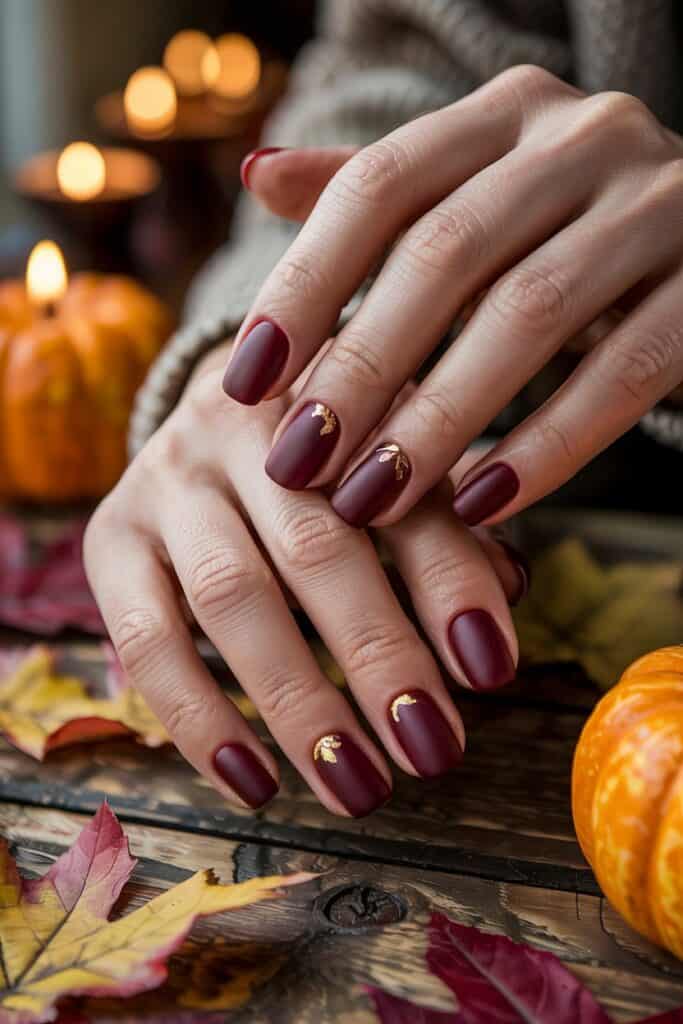
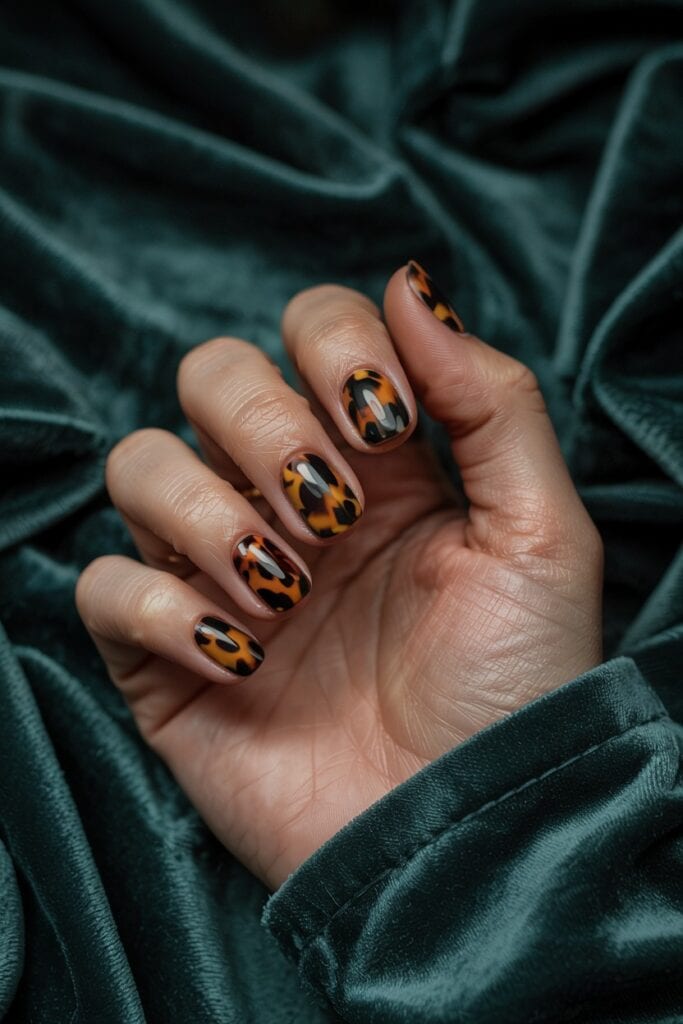
9. Tortoiseshell thumbnail accent
Create tortoiseshell by layering amber, chocolate, and black with softened edges. Keep to thumbnails only for a statement look.
💡 Pro Tip: use thin layers cured between steps to create depth.
Anchor other nails with beige or caramel. Add a tiny gold fleck inside one spot for a luxe touch.
💡 Pro Tip: keep patterns slightly random, that looks closest to natural acetate.
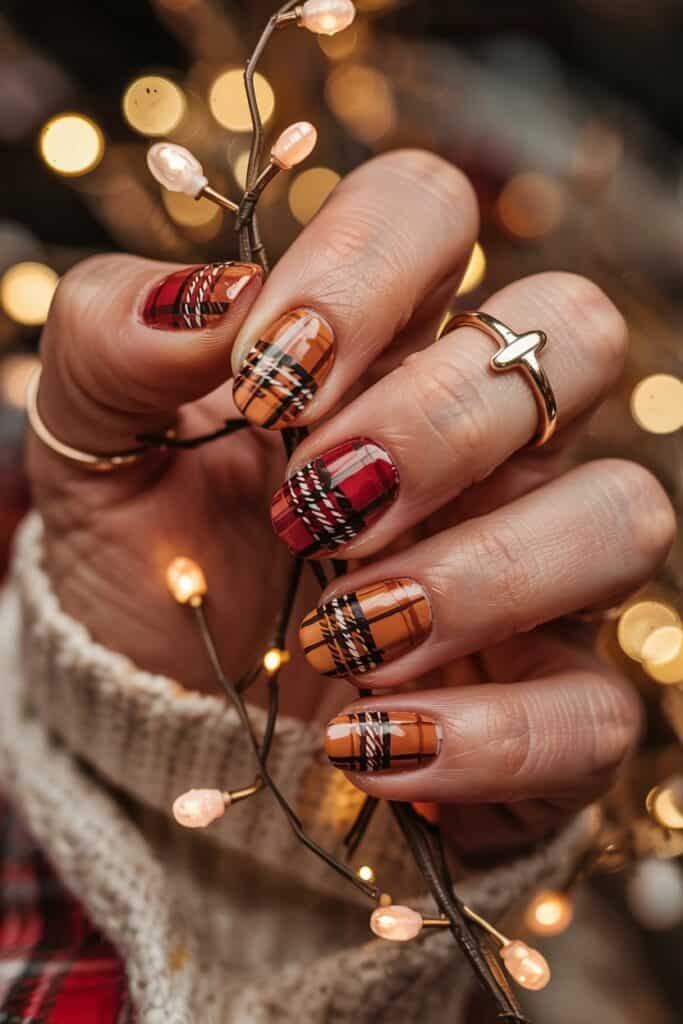
10. Plaid stamping for cozy texture
Plaid stamping gives crisp lines without freehand stress. Use fine-line plates and scrape gently for clean transfers.
💡 Pro Tip: layer cream and chocolate shades for a woven look.
Stamp one or two nails only to avoid clutter.
💡 Pro Tip: matte plaid nails and keep others glossy to mimic cozy fabric.
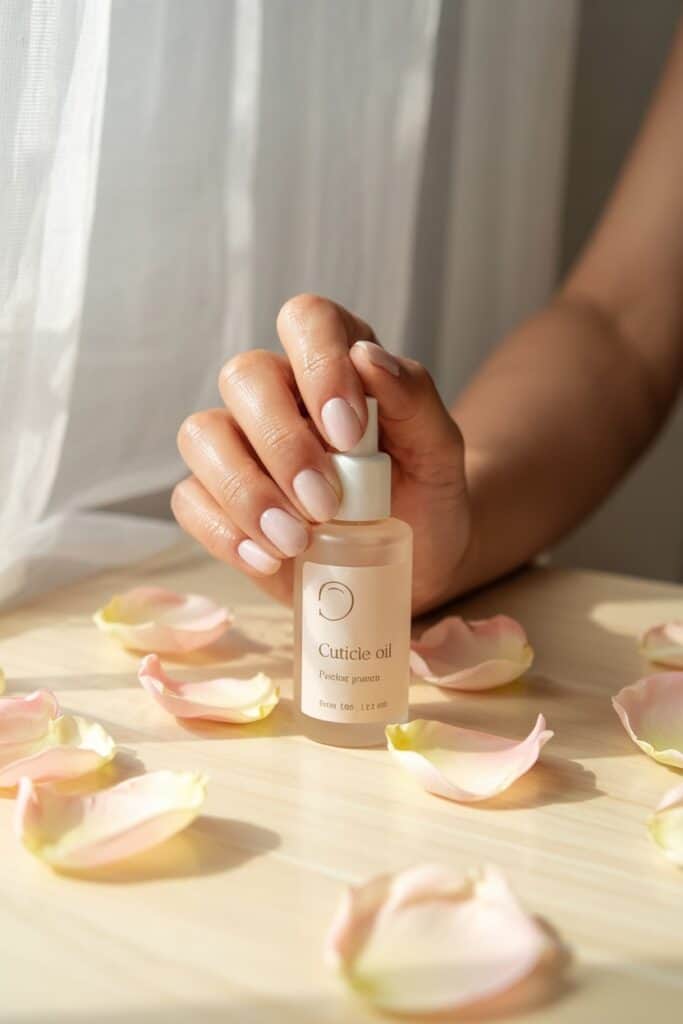
11. Cuticle oil routine for 40+ nails
After 40, nails often need extra hydration. Massage cuticle oil nightly and after using sanitizer to keep the nail matrix supple. This supports smoother growth and fewer ridges.
💡 Pro Tip: choose jojoba-based blends, they penetrate well and do not leave a greasy finish.
Keep oil pens handy in your bag, desk, and nightstand. Cap with hand cream afterward to lock it in.
💡 Pro Tip: apply sunscreen on hands each morning to prevent sun spots and keep your manicure looking elegant.
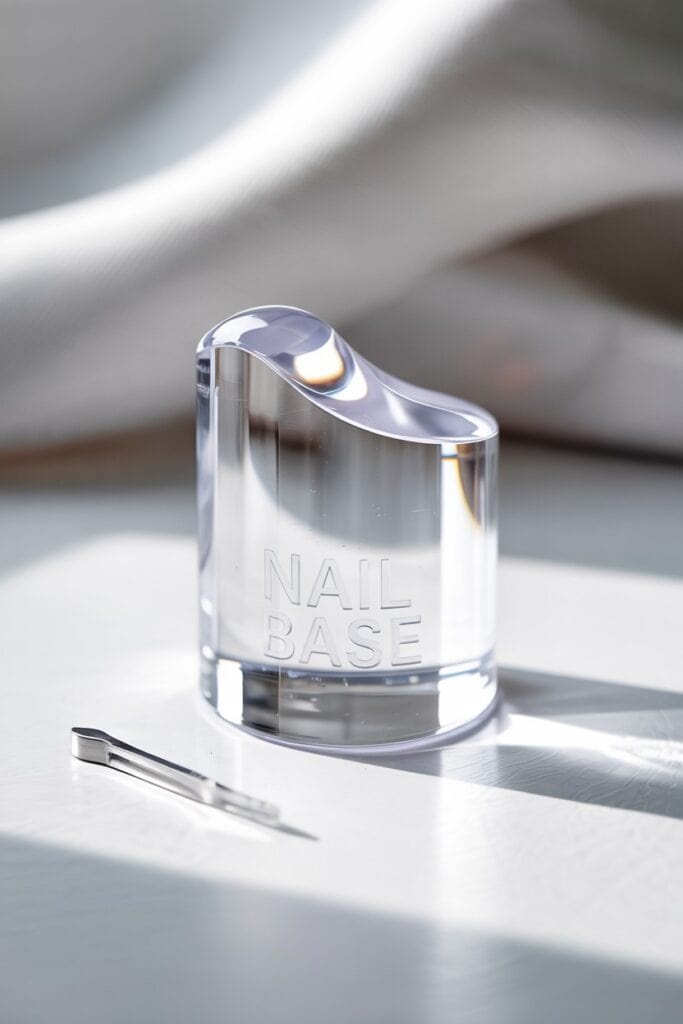
12. Ridge-filling base for a smooth look
A flexible ridge-filling base moves with the nail, preventing cracks and peeling. Apply two thin coats, letting each dry completely before color.
💡 Pro Tip: scrub nails with alcohol before application, oil or dust is the number one reason base coats lift.
For gels, use a thin rubber base and cap the free edge delicately. Flash cure between coats for best results.
💡 Pro Tip: apply ultra-thin layers to avoid wrinkles and ensure a smooth finish.
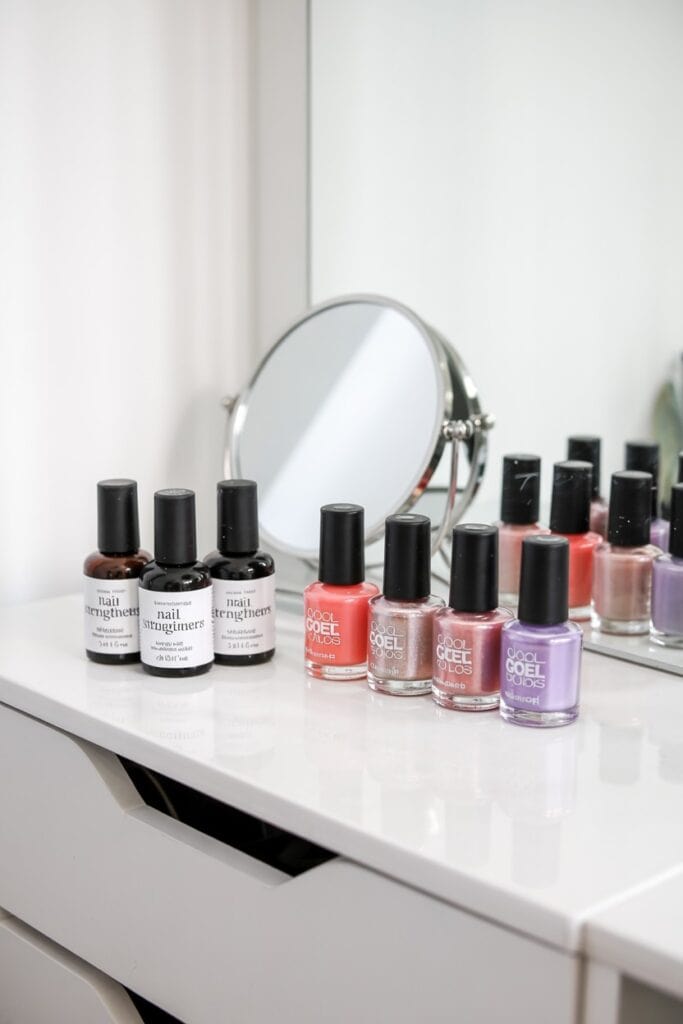
13. Strengtheners that pair with gel
Some hardening treatments clash with gel chemistry and cause lifting. Instead, use non-formaldehyde, calcium, or peptide-infused strengtheners as a stand-alone manicure between gel sets.
💡 Pro Tip: use strengtheners for two weeks at a time, then give nails rest days just like skincare needs resets.
If you must wear them under color, choose formulas designed to be gel-compatible. Apply very thin coats for best results.
💡 Pro Tip: keep nails hydrated with oil twice daily, flexible moisturized plates resist breaks better than brittle over-hardened ones.
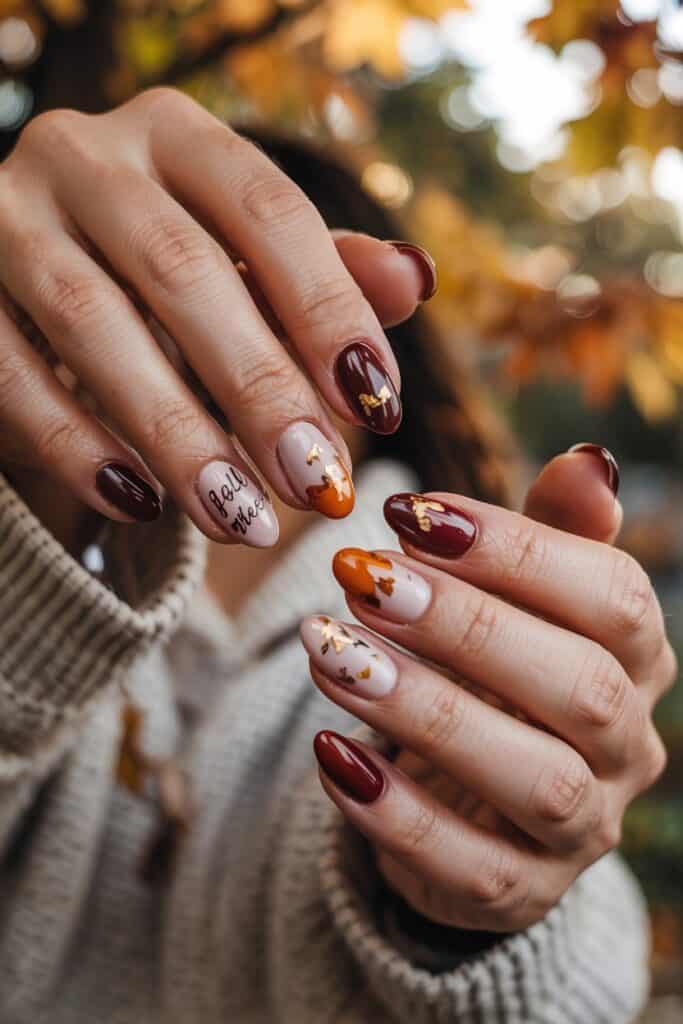
14. Photo ideas: hands with knits & mugs
Short fall nails shine in lifestyle photos. Hold a textured knit sleeve or a warm mug to frame your manicure and add a cozy vibe. Natural light always beats overhead bulbs.
💡 Pro Tip: angle hands slightly, relax fingers, and soften the wrist to avoid stiffness in photos.
Choose props and backgrounds that echo your palette, like camel, oatmeal, or espresso tones. Keep jewelry minimal to let nails stand out.
💡 Pro Tip: dab cuticle oil along sidewalls right before shooting for a lit-from-within glow.
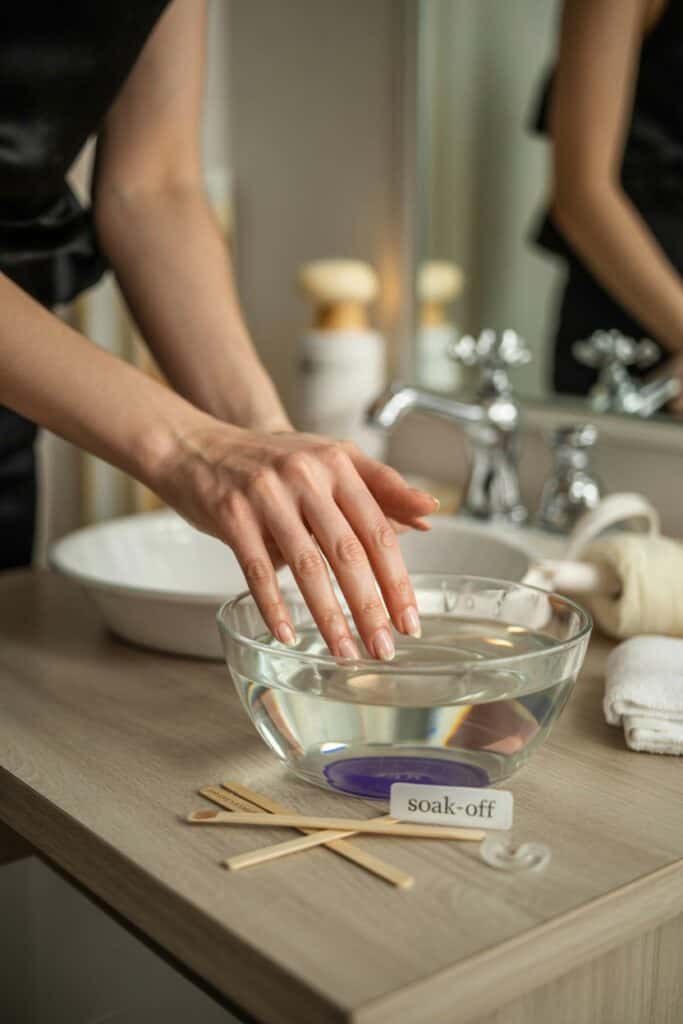
15. At-home removal that protects plates
Protect your natural nail plates by avoiding scraping. For polish, soak cotton in remover, press on nails, and wrap with foil for several minutes before wiping clean. For gel, use soak-off wraps, then gently push softened product with an orangewood stick.
💡 Pro Tip: always keep pressure feather-light when removing polish.
After removal, wash hands, then immediately oil and apply a hydrating base coat to prevent brittleness. If you buff, use the softest side and only remove surface shine.
💡 Pro Tip: schedule regular “bare days” between sets to keep nails strong and ready for your next fall design.
Short fall nails are elegant, durable, and incredibly photogenic when you focus on smart shapes, cozy colors, and gentle care.
Try one design this week, then pin this post for your next manicure rotation.
Which of these ideas will you try first?
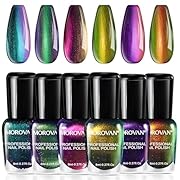
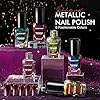


Morovan Fingernail Nail Polish Set: Holographic Metallic Lacquer Air Dry Nail Polish Regular Nail Pack 0.27oz Glitter Finger Nail Bulk Toenail Polish Kit Halloween Fall Gift for Women
$12.99 (as of November 12, 2025 05:33 GMT +00:00 – More infoProduct prices and availability are accurate as of the date/time indicated and are subject to change. Any price and availability information displayed on [relevant Amazon Site(s), as applicable] at the time of purchase will apply to the purchase of this product.)


